
Are you looking to replace the LCD screen on your MacBook? Whether it's due to damage or simply an upgrade, installing a new LCD can seem like a daunting task. But fear not, with the right tools and a little know-how, you can successfully install a new LCD screen on your MacBook. Follow this step-by-step guide to get your MacBook looking as good as new.
What You'll Need
Before you begin, make sure you have all the necessary tools and equipment. You'll need a replacement LCD screen compatible with your MacBook model, a screwdriver set, an anti-static wrist strap, and a clean, flat workspace. It's also a good idea to have a guide specific to your MacBook model for reference.
Prepare Your Workspace
Start by powering off your MacBook and disconnecting all cables. Place your MacBook on a soft, clean cloth to prevent scratches. Use the screwdriver to remove the screws on the bottom case and carefully lift off the case to expose the internal components.
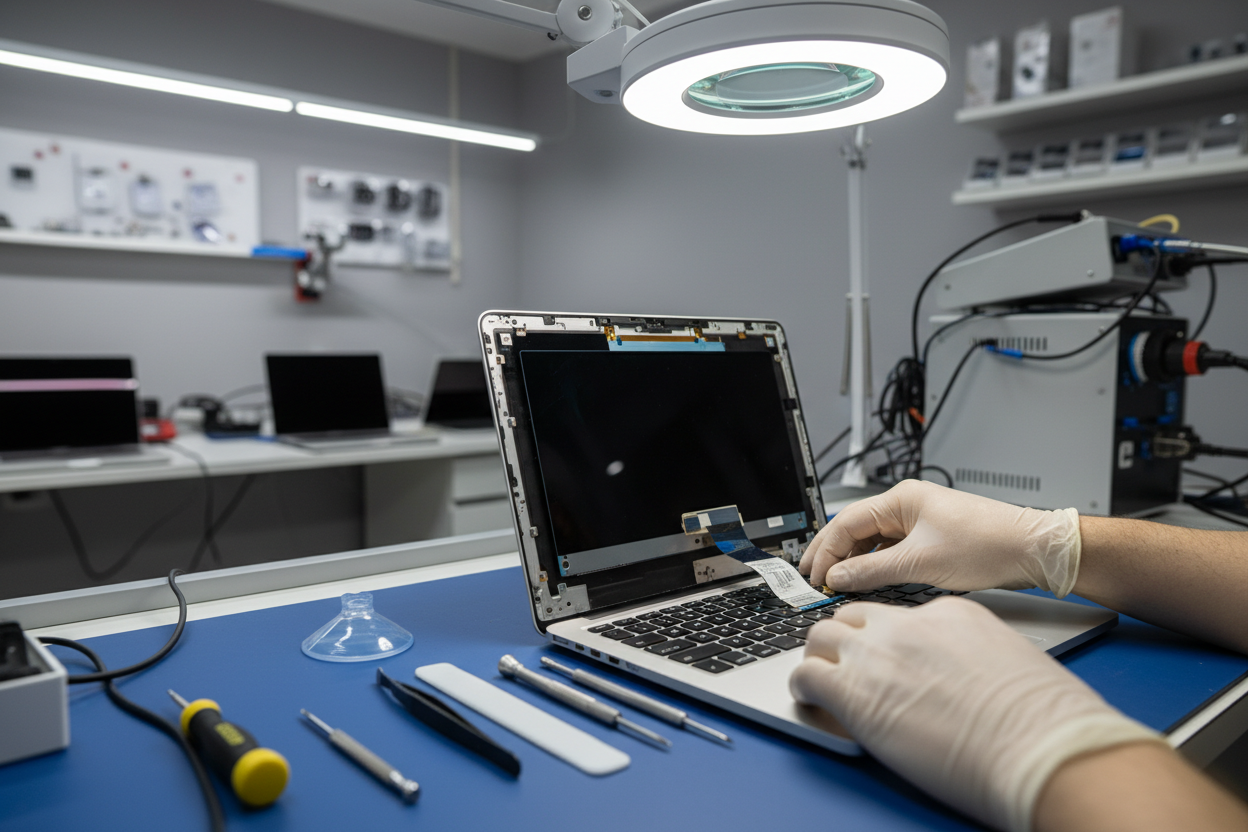
Remove the Old LCD
Locate the LCD screen and disconnect the video cable and any other connectors attached to it. Remove the screws securing the LCD in place and gently lift it out of the MacBook. Be sure to handle the old LCD with care to avoid damaging it further.
Install the New LCD
Take your new LCD screen and carefully place it in the same position as the old one. Secure it with the screws you removed earlier and reconnect the video cable and any other connectors. Double-check that everything is properly connected before proceeding.
Reassemble Your MacBook